Madrona Appliance Tutorial
- Downloaded and installed the Madrona Appliance
- Have the virtual machine (VM) up and running.
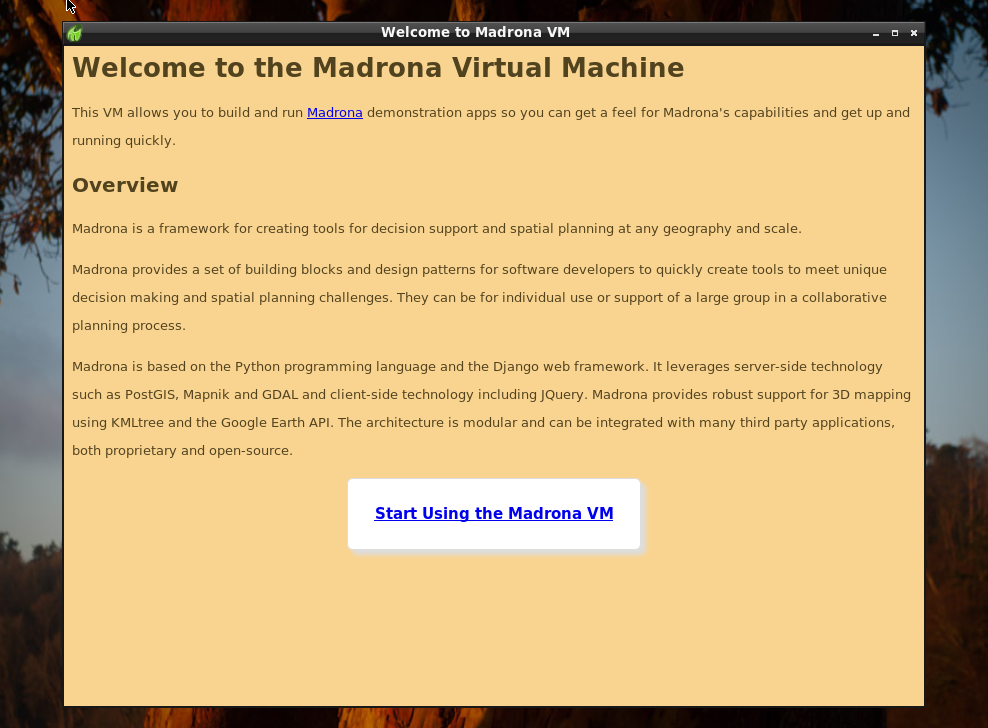
This tutorial will walk through creating an app using the Madrona App Generator and then getting started customizing that app. The apps created by the App Generator use the Google Earth Plugin, which is just one of the mapping clients that you can use with Madrona. See the Madrona experience page for more examples and their full source code.
-
In your running VM, click the Start Using the Madrona VM button
-
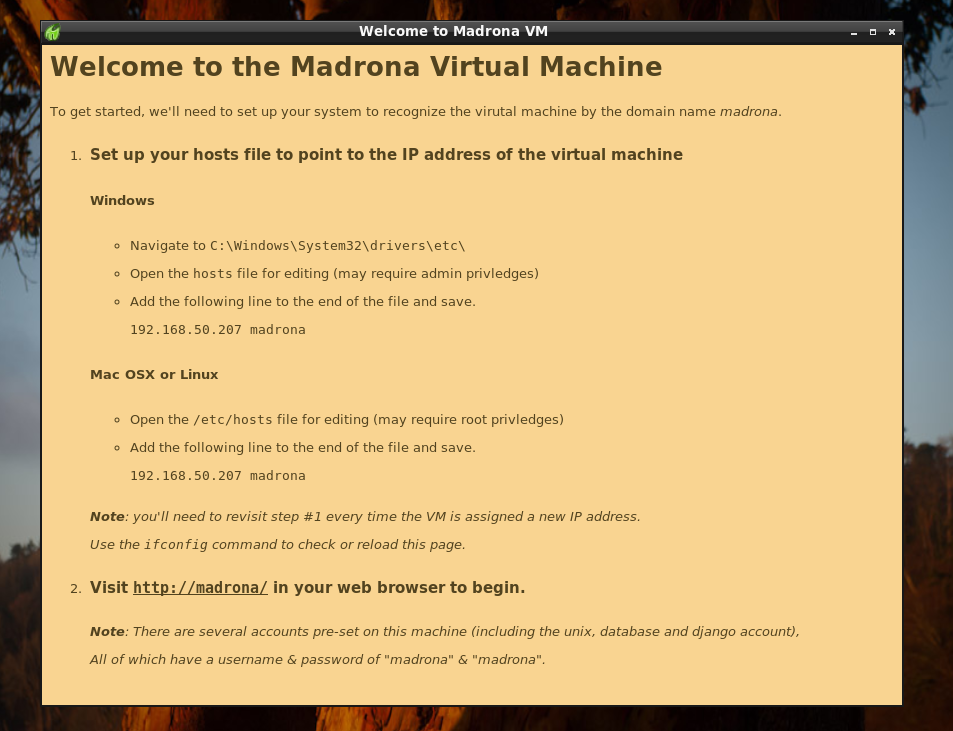
The App Generator is now running. Follow the instructions onscreen to configure your host system to send web requests for madrona to the VM’s IP address.
Creating the initial demo app
Now that your networking is setup, access the Madrona App Generator from a web browser in your host operating system not the VM.
-
Open the URL http://madrona/
-
Sign in. The username and password are both madrona
-
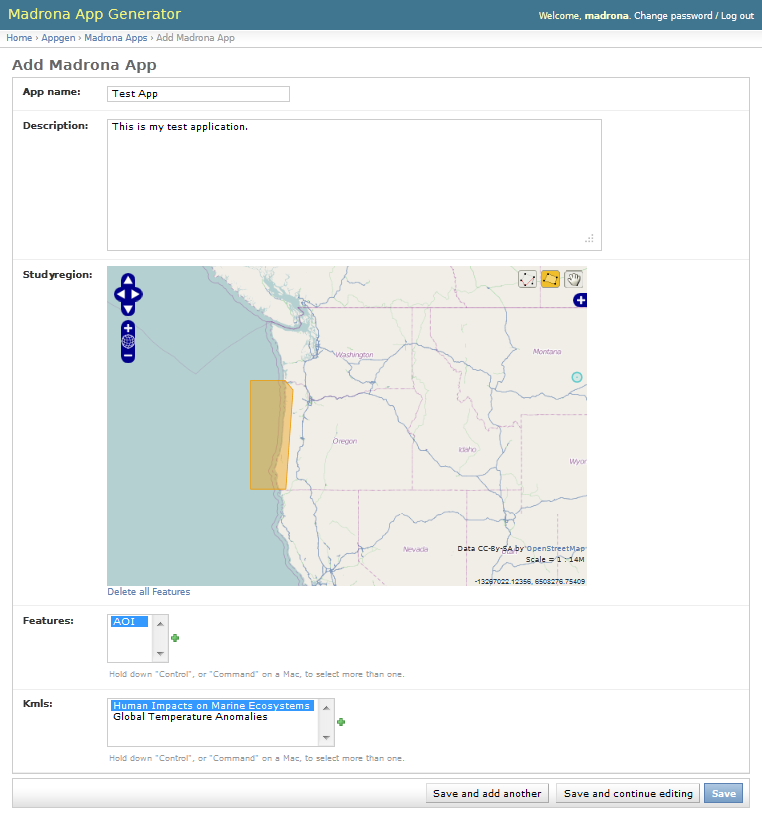
Click the Generate New Madrona App button to begin.
-
Provide the App with a name, we’ll be using ‘Test App’’ throughout this tutorial.
-
Enter the description ‘Test Application’ or whatever you want.
-
Draw a study region on the map. The studyregion is used to define the geographical extent of your project. For best results, draw a smaller region.
-
Under Features, select the AOI feature.
-
(Optionally) Create one or more additional features by clicking the + button. Give them a name and a type (point, line, polygon or folder). Once you create more you need to select them all in the Features list by holding down the Ctrl key and selecting them all.
-
Select one or more of the available KML data layers to make available to your user.
-
(Optionally) Click the + button to add your own KML file if you know the URL.
-
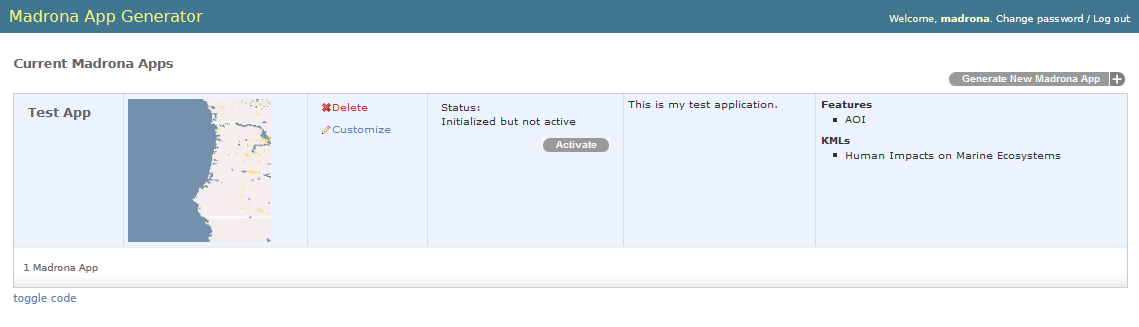
Click the Save button. You should now see a summary of your app.
Initialize and Activate Your App
- Click the Initialize button.
- Once initialization is complete, click the Activate button.
Test Out Your New App
- In the admin, click the Go To App button. This will open a new tab and load your new app being served at http://madrona:81/. When the app loads it will automatically zoom the map to the study region that you drew.
-
Click the Login button in the top right. The username and password are both madrona
-
Click the Data Layers icon in the top left.
-
You should see a Test App folder which has a data layer for your study region. Try turning this on and off. Double-click to zoom into it.
-
You should also see a Base KML Data folder which has all of the data layers that you added. Try turning them on and off.
-
Now let’s create some features. Click the My Shapes tab in the top left. If you don’t see this tab you probably aren’t logged in and should go back to step 2.
-
Click the Create button and then click AOI which generically stands for Area of Interest.
-
Click the Draw Shape button and then draw a polygon on the map by clicking once for each vertice and the double-clicking the last point to finish.
-
Give your new feature a name, any name. Optionally, give it a description.
-
Click the Submit button
-
You’ll now be presented with detailed information for your feature. Close this window by clicking the ‘X’.
-
You should now see your feature listed under Features and Collections
-
Now let’s create a new folder. Do it the same way you created an AOI, through the Create menu.
-
Once you create your folder and see it under Features and Collections, click and drag your feature into the folder. This allows you to organize your features any way you like.
Viewing and editing the generated code
To view the code behind this application that was generated by the App Generator using the information you provided, start by going back to the Virtual Machine window.
-
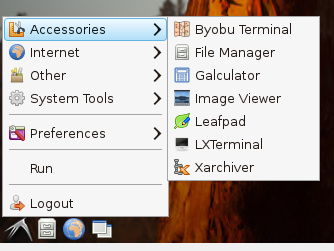
Click the Start button in the lower-left, it’s the button that looks a little strange. Click Start -> Accessories -> LXTerminal to open a command line terminal window
-
Now Click Start -> Accessories -> Sublime Editor 2 to open your text editor
-
In Sublime Text click File -> Open Folder
-
Now open /usr/local/userapps/testDemoProject/testdemoproject
- Customize your app